
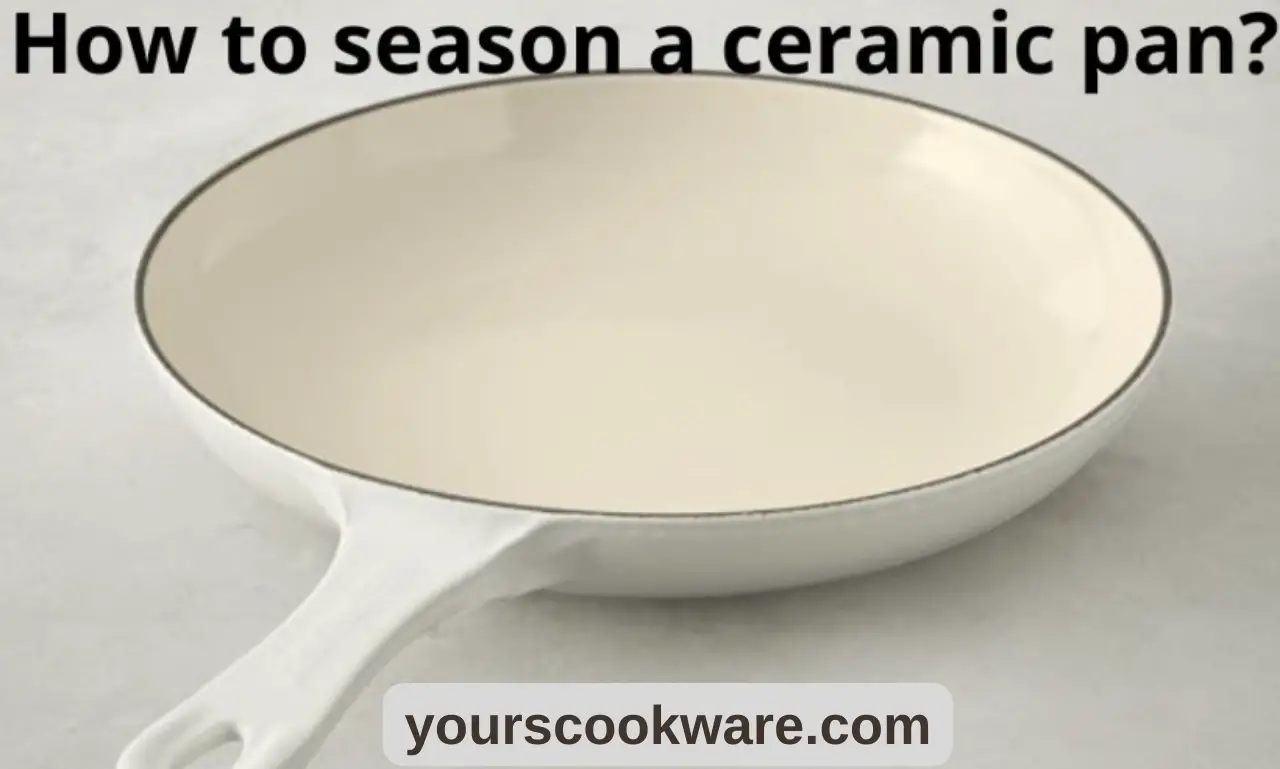
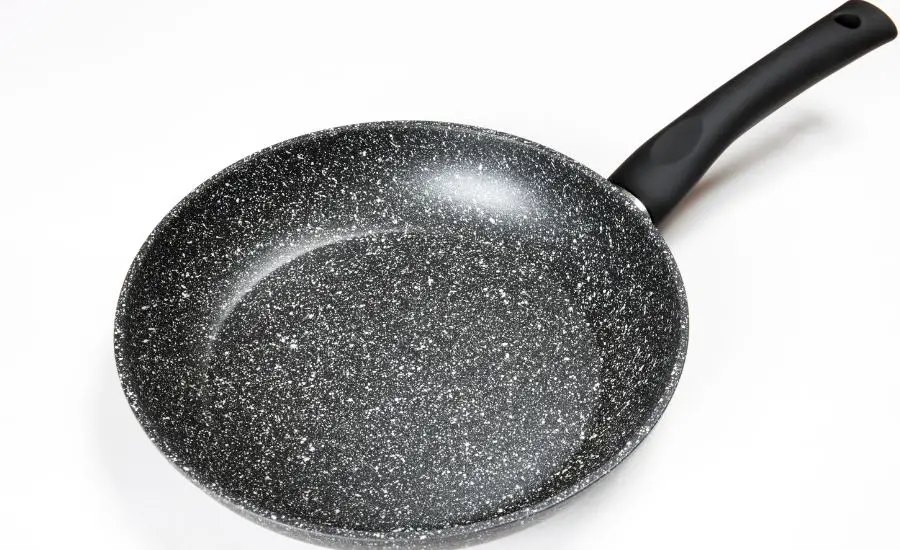
Having a ceramic pan means taking proper care of it. To provide better longevity, make the cooking process better, and simplify the cleaning part, seasoning your versatile ceramic pan is crucial.
If you wonder how to season a ceramic pan and maintain it in tip-top condition, you have just opened the right article!
Why and how to season a ceramic pan?
For those who have just bought a new ceramic pan, it probably sounds weird. Why should you season a new pan? What can be wrong with a new pan’s surface? And finally, if this point is essential, what is the right way to protect ceramic frying pans?
We are going to answer all your questions!
Why season a ceramic pan?
The main point to start with is that ceramic coating isn’t nonstick itself. Thus, a good thought to create a protective nonstick coating intact by protecting the whole surface of the pan.
Ceramic pan seasoning is a simple way to add some non-stick properties to the pan’s surface. In addition, seasoned ceramic pans need the timely renewal of their non-stick coating.
Seasoning a ceramic frying pan is full of benefits:
- Create a non-stick surface
- Prevent corrosion issues
- Lengthen the ceramic pan’s longevity
- Enhance the food flavor
- Add a glossy look
How often should you repeat this procedure?
For those who have a new pan, the best idea is to season it every 1-2 months. This regular seasoning helps you to accumulate a more permanent protective coating on your new pan. Keep doing it for several first months until the non-stick surface becomes harder and more permanent.
After that, you can renovate a ceramic frying pan at least twice a year. If necessary, you can renew the protective layer at other intervals, depending on when you notice your food starts sticking to the surface.
For an old ceramic pan, a good option is to repeat the procedure twice a year. Don’t wait until the protective layer starts losing its nonstick properties, as a better idea is to renovate it in time.
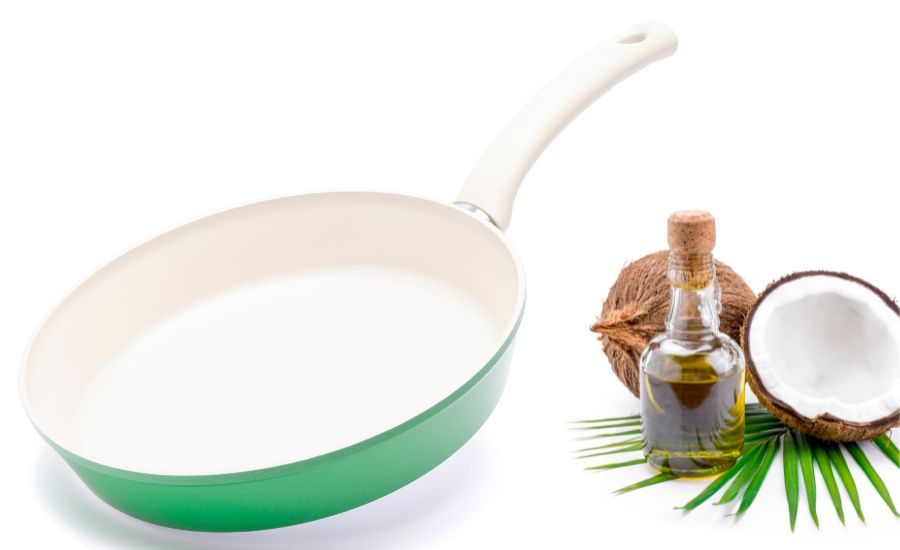
Which oils are suitable for seasoning a ceramic pan?
When seasoning ceramic cookware, an essential point is to choose the right types of oil.
The best oils for seasoning ceramic pans should have a high smoking point. When applied to the ceramic cookware, they create an even and durable coating that lasts longer and gives a pleasant flavor to your food.
A good idea is to opt for any oil from the list below:
- Avocado oil
- Canola oil
- Cooking oil sprays
- Grapeseed oil
- Peanut oil
- Sunflower oil
- Vegetable oil
Along with a pro list of oils, it is necessary to know which oils to avoid for seasoning ceramic pans.
Never opt for oils with a low smoking point and fats that can leave behind an unpleasant tasting and smelling coating.
Here is an anti-list of oils and fats:
- Butter
- Coconut oil
- Flavored cooking sprays
- Olive oil
- Low-smoking oils
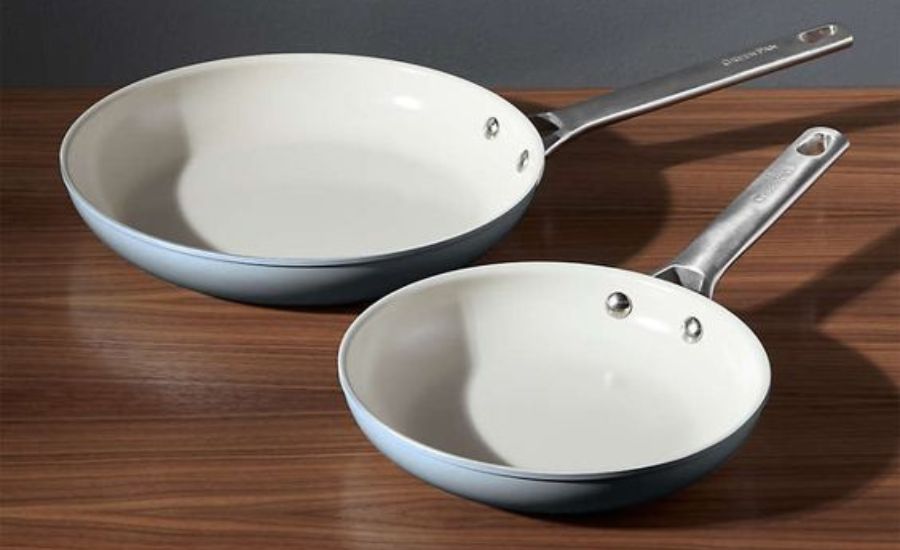
Seasoning your pan in 5 steps
As you can see, seasoning is optional but essential. Most ceramic pans have better longevity in case they are protected and seasoned regularly.
Ensure that you have all these items:
- Mild dish soap
- Soft cloth (or soft sponge)
- Soft brush
- High-smoking oil
- Clean paper towel
Now, it is high time to follow all the steps of seasoning a ceramic frying pan.
Step #1: Wash the pan
No matter if you have a new pan or the old one, the first task is to wash it thoroughly. Wash the pan with plenty of hot soapy water to dispose of any dirt and germs on the surface. Since ceramic pans are sensitive to abrasive cleaners, opt for mild dish soap.
While the old pans can have food, rust, and dust particles stuck to the surface, the new ones can also have germs and factory debris on them. The extra protective layer always forms a perfectly clean surface. Hence, the non-stick coating makes a durable build-up on the metal.
Dispose of any stubborn dirt in case there is some! Gently remove it with a bit of baking soda and a sponge or clean soft cloth, and then rinse the pan with cold water.
As soon as you finish washing, wipe the pan thoroughly with a soft cloth and let it air dry completely.
Step #2: Generously oil the pan’s surface
Cover all the surfaces of the pan with the right type of oil. Remember that you need to use any of the high-smoking oils for the proper effect. Canola oil, cooking oil, or vegetable oil are the best suitable options.
You need about a tablespoon of chosen oil to apply it evenly around the surface. If there is not enough oil, add some more to get the pan completely coated.
Spread the oil all over the surface with a help of a clean paper towel, a brush, or a soft cloth that can’t scratch it.
Step #3: Get the pan to heat
Now, take the oiled ceramic pan to the heat source. You can place it on the stovetop burner or let it heat in the oven.
While heating the pan on the stove, turn on the medium heat and let the oil heat slowly for about half an hour so that the oil starts to penetrate the ceramic surface and create a layer of coating.
The medium heat is optimal for the seasoning process, so avoid turning the high heat on. You won’t speed the process up, and what is more, it won’t work properly.
While heating the oiled pan, don’t forget to turn it slightly to distribute the oil evenly over the whole surface. Don’t leave any oil-free spots!
As soon as you can see the oil smoking, turn the heat off.
If you opt for oven heating, ensure that your pan is oven-safe. Remember that some ceramic pans are not compatible with oven heating, so you can’t risk them.
Your oven must be suitable for this method of seasoning. While convection and conventional ovens are okay for this case, you can never do it in the microwave, steamer, or toaster oven.
The oven temperature settings should be on medium heat as well. Then, insert the oiled pan on the middle rack and let the pan heat inside.

Step #4: Cool the pan down
The next step is to remove the hot pan from the heat source and let it cool completely. To create a non-stick ceramic pan, you can’t touch it until the oil soaks into the surface of the pan.
Never try to speed the process up! Placing the cooling pan in the fridge or cooling it with the help of cold water will just ruin the process. Be patient and let the pan cool down naturally.
Step #5: Get rid of excess oil
As soon as the pan is cooled, wipe all the excess oil using a paper towel. Clean all the surfaces gently so as not to destroy the freshly formed coating.
If some spots are missing, repeat the seasoning process once again. If you complete the task correctly, you don’t need any more steps to do.
How to treat the coated ceramic pan?
A pan needs some care tips to follow:
Tip #1: Never use any sharp metal utensils or abrasive cleaners so as not to destroy the protective layer on the pan’s surface!
Tip #2: Gently wash the coated pan with a soft sponge and mild detergent. In case of stubborn stains, make use of baking soda. Never scrub the pan with an abrasive sponge as it is the shortest way to damage it.
Tip #3: Hang the coated pans on the pan rack instead of stacking them in a pile. If you don’t have enough space, wrap the pans with a soft paper towel, paper bag, or napkin before placing them altogether.
Tip #4: Do not wash ceramic pan in the dishwasher! Even if the instructions on the ceramic pan say it’s dishwasher safe, wash it by hand instead.
The reason is that most dishwashing detergents are filled with harsh chemicals that your pan may not be able to handle. Washing in a dishwasher will instantly ruin the surface. Remember, the pressure of hot water that is sprayed on the pan in the dishwasher can also remove the non-stick coating.
Tip #5: Avoid sudden changes in temperature
Don’t let your ceramic pan go from hot to cold too quickly, because
such sudden changes in temperature can cause thermal damage to the non-stick surface of the pan.
Tip #6: Use an abrasive
An abrasive such as Cif will clean the surface of your ceramic pan without damaging its non-stick coating.
FAQ
Do you need to season a new ceramic pan?
When getting a new brand ceramic pan, the best thought is to season it before you start cooking. Skipping this step will lead to many issues as a new ceramic pan comes without any non-stick properties. To protect its surface, you need to season it by yourself.
Start with seasoning once a month or two, and then you will need to do it just twice a year.
Seasoning is an optional step, but it is always a good idea to add some extra protection to the ceramic pans.
Why is everything sticking to my ceramic pan?
For those who think that a brand new ceramic pan is equipped with a non-stick surface, the bad news is that ceramic cookware is not non-stick itself. You need to protect the ceramic surface additionally by seasoning it.
What is more, a sure way to destroy the pan surface is to cook with metal utensils. Since their rough or sharp edges can damage the ceramic surface, you make it even more vulnerable and prone to sticking.
Can you season a ceramic pan with olive oil?
Olive oil is one of the options to avoid when seasoning your ceramic pan. The drawback hides in the unpleasant smell and taste of food that the olive oil coating leaves behind. So, when choosing the right type of oil to season a ceramic frying pan, opt for one of those given in the least of best seasoning oils.
How do you make a ceramic pan non-stick again?
To keep your ceramic pan in tip-top condition, you need to protect its surface. As the seasoned coating is damaged with time, you need to re-season your pan periodically.
The optimal way to maintain the pan is to repeat the seasoning sessions once in six months. If necessary, you can do it any time as soon as you see the food starts sticking again.
Final thoughts
Seasoning your cookware is not a science if you do everything properly. We hope that our guide is helpful to you and you will have no trouble with your pans anymore!

My name is Emma Brown, more than 15 years of my life is related to cooking, and i know all about selecting the right kitchen equipment for certain processes.
I will help you learn more about dishes and give you knowledge on how to extend the service life of cookware.